Tax Category
A Tax Category allows applying one or more Tax Rules to transactions based on various criteria.
If you want to apply different kinds of taxes based on Tax Categories, create Tax Categories from:
Home > Accounting > Taxes > Tax Category
1. Prerequisites
Before creating and using a Tax Category, it is advised to create the following first:
2. How does a Tax Category work
Creating a Tax Category is simple, go to the Tax Category list, click on New and enter a name.
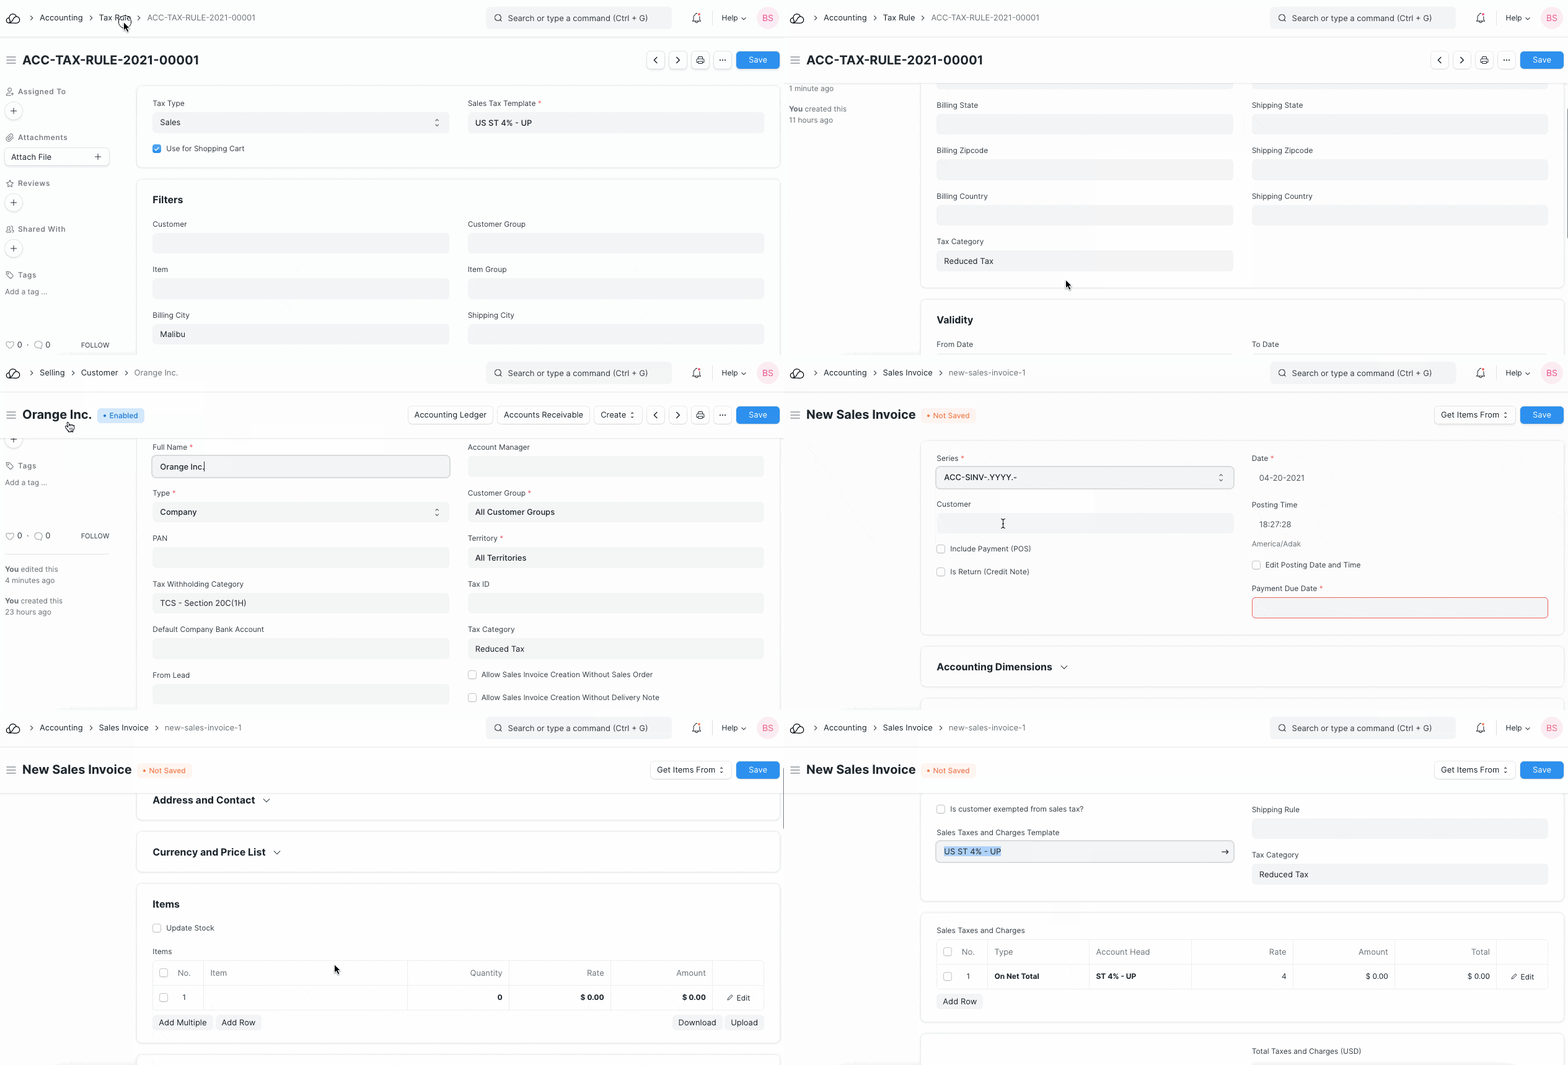
- A Tax category can be linked to one or more Tax Rules.
- This Tax Category can be assigned to a Customer, so when that Customer is selected, the Tax Category will be fetched. This also applies in case of a Supplier.
- This will fetch the Sales Tax Template linked to the Tax Rule. Hence, the rows in the Tax table will be automatically filled.
- Tax Category can be used to group Customers to whom same tax will be applied. For example, Government, NGO, commercial, etc.

Tip: One Tax Category can be assigned to multiple Tax Rules. So you can create different combinations to apply taxes automatically to transactions.
3. Assigning Tax Category
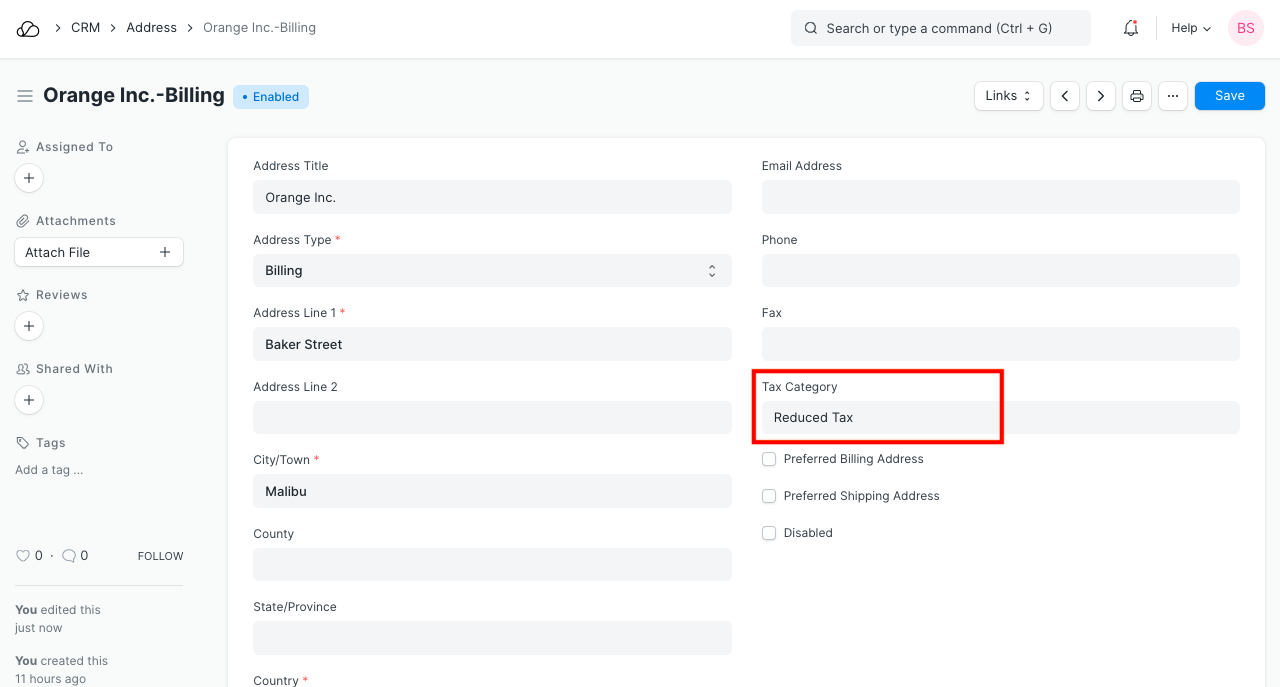
Tax Category is automatically determined in a transaction by either the Party Address or Party Master (Customer/Supplier). You can assign Tax Category based on:
- Customer
- Supplier
- Address Billing or Shipping. You can select whether Billing Address or Shipping Address gets preference by changing the 'Determine Address Tax Category From' option in Accounts Settings. Tax Category is determined from Party Address first. If the Address is not assigned any Tax Category, then the Party's Tax Category is used.
 4. Item
5. You can also manually select the Tax Category in a transaction.
4. What effect does the Tax Category have in a transaction?
- Specific Item Tax Templates for that Tax Category are automatically set for items.
- You can create Tax Rules to automatically set a specific Sales / Purchase Taxes and Charges Template based on different Tax Categories in transactions.