System Settings
System Setting contains settings for system-wide configuration of the account.
You can localize OneOfficeERP to use particular time zone, date, number or currency format, and also set global session expiry via System Settings.
To open System Settings, go to:
Home > Settings > System Settings
1. Sections in System Settings
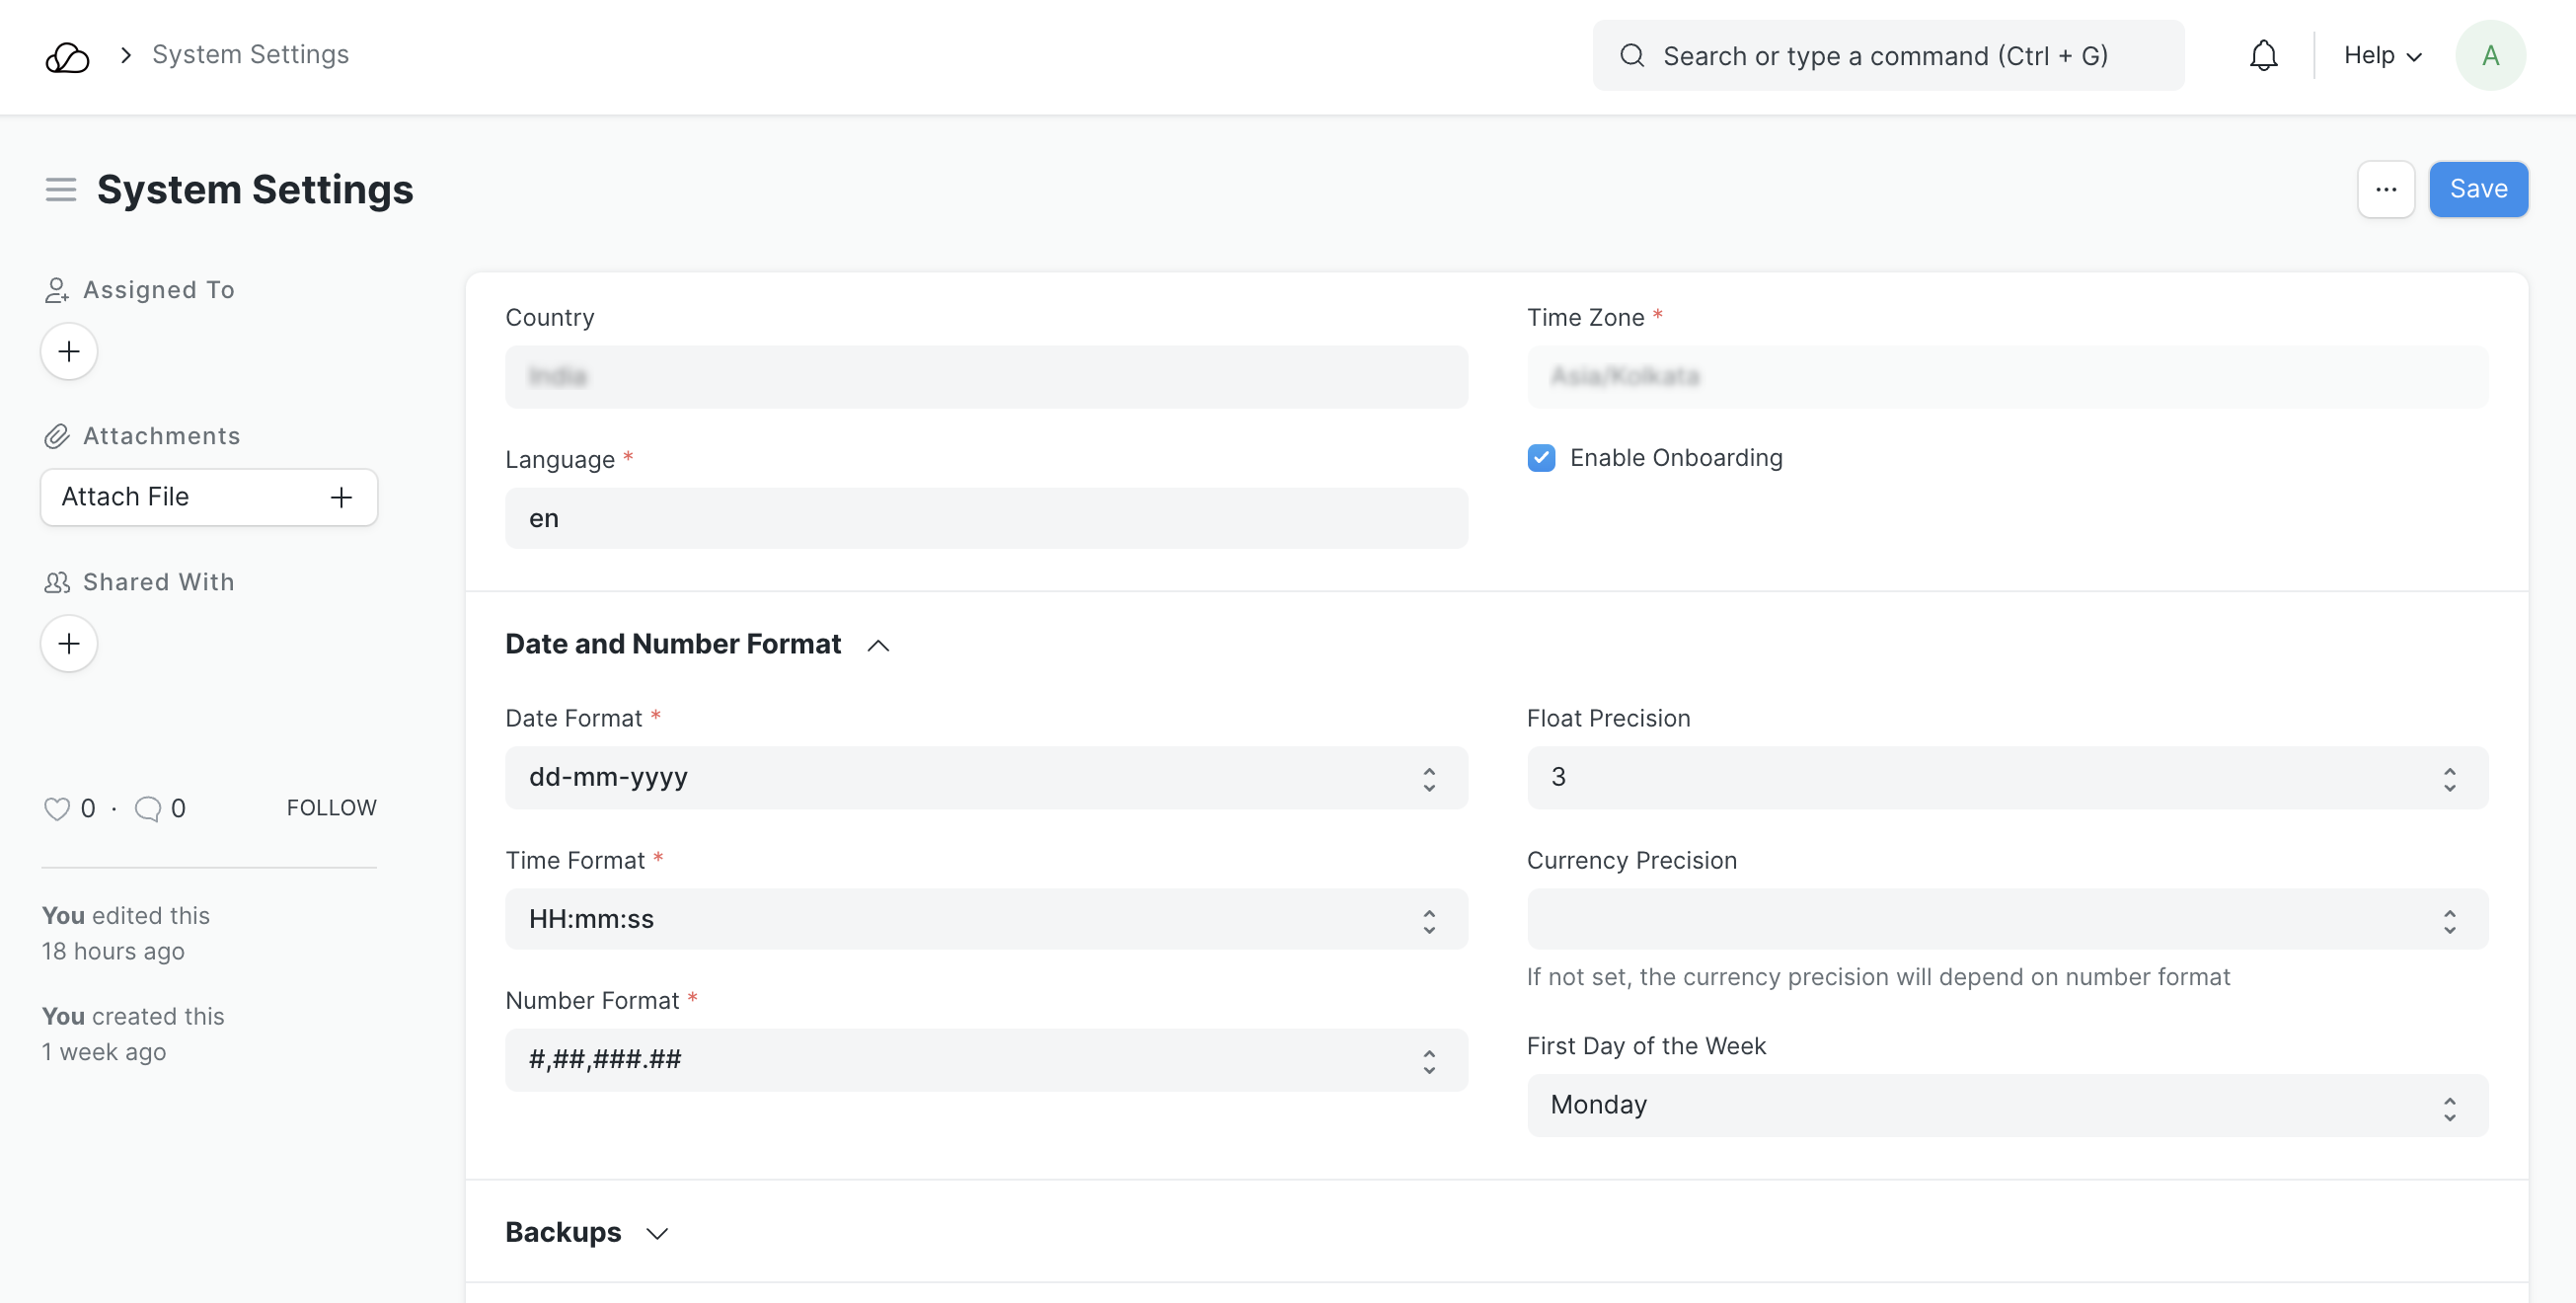
1.1 General
- Country: You can set the default country here, this will be fetched when creating new addresses. If your company has multiple branches in different countries, choose the head office location.
- Time Zone: Sets time automatically based on the time zone.
- Language: Sets the global language for the OneOfficeERP account. Then language will be changed in all the menus, transactions, masters, etc.
1.2 Date and Number Format
- Date Format: Format in which dates will be displayed. For e.g., dd.mm.yyyy or mm/dd/yyyy. This depends on how dates are formatted in your region.
- Time Format: Format in which time will be displayed. You can choose to show (
HH:mm:ss) or hide seconds by setting the option as (HH:mm) . - Number Format: Format in which numbers will be formatted. For e.g., 1,000 or 1000.00.
- Float Precision: The number of zeros displayed after the decimal point for quantities etc. The range is 2-9. Default is 3.
- Currency Precision: Number of zeros displayed after the decimal point for currency values. If left blank, it will be based on the Number Format.
- First Day of the Week: This can be used to configure the day for start of the week. This affects dynamic filters for week used in list and report views, date seletion layout and calendar view.
1.3 Backups
In OneOfficeERP you can backup the database as well as your files. Database backups are created automatically while file backups need to be downloaded explicitly.
This field shows the number of backups after which older ones will be deleted. By default, 3 backups are saved over 24 hours. New backups are automatically created every few hours and the newest backup will overwrite the oldest one. For a backup of files, click on the Download Files Backup button in the Download Backups form.
Keeping regular backups of your system is a good practice in case of any mishap and you want to roll back or just for your records.
1.4 Permissions
Using permissions, you can limit user access to document types. The limitation can be based on fields like Company, Territory, Branch, etc. To know more about User Permissions, click here.
If Apply Strict User Permissions checkbox is ticked and User Permission is defined for a DocType for a User, then all the documents where the value of the link is blank, will not be shown to that User.
This is done from:
Home > Users and Permissions > Permissions > User Permissions
For example: If you set User Permissions for Territory and set the value as "United States". If the checkbox is unticked, all transactions (sales orders, quotations) with United States will be shown to the users.
If the Apply Strict User Permissions checkbox is ticked, documents, where Territory is blank, will not be shown to the users.
1.5 Security
- Session Expiry: Number of idle hours after which you'll be logged out of a session. This helps in better security. For example, if there is no activity for 6 hours, your account will be logged out.
- Session Expiry Mobile: Session expiry when logged in from a mobile phone.
- Allow only one session per user: If you want to use a single set of credentials for multiple users, tick this checkbox. The number of simultaneous sessions can be changed under User master. Mobile phone sessions are not counted here.
- Allow Login using Mobile Number: By checking the 'Allow Login using Mobile Number' checkbox, you can log in to OneOfficeERP using a valid mobile number set in your User account.
- Allow Login using User Name: Allow user login via their username set in the User master.
- Show Full Error and Allow Reporting of Issues to the Developer: This will display the whole error on the screen and allow reporting issues. If you have technical knowledge in this area, you can get a better idea of the error by reading the whole message.
- Remove EXIF tags from uploaded images: Metadata stored in image files in the EXIF file format can be exploited to get sensitive user information. This option lets users remove that data from the images before uploading.
1.6 Password
-
Force User to Reset Password: Number of days after which a password reset is mandatory. 0 means no limit.
-
Enable Password Policy: Enables a password strength checker so that users have to use strong passwords for their login.
-
Minimum Password Score: Score for the password strength checker:
- 2 is medium,
- 3 is strong,
- 4 is very strong.
Complexity is based on the number of characters, capitalization, special characters, etc.
-
Password Reset Link Generation Limit: This is a allows limiting the number of password reset requests per hour, defaults to 3. Setting it to 0 will allow unlimited password reset link generation requests.
1.7 Brute Force Security
- Allow Consecutive Login Attempts: Consecutive logins after which you'll be locked out of the account for a specific period. This helps if an intruder tries to log in to your account.
- Allow Login After Fail: Seconds after which a login attempt will be allowed after consecutive unsuccessful attempts.
1.8 Two Factor Authentication
Settings for Two Factor Authentication can be configured here.
On ticking 'Enable Two Factor Auth', the following two options will be seen.
- Bypass Two Factor Auth for users who log in from restricted IP Address: Users who log in from restricted IP addresses will not be asked for Two Factor Authentication. You can restrict IPs from User master under the Restrict IP field.
- Bypass restricted IP Address check If Two Factor Auth Enabled: If checked, all users can log in with Two Factor Authentication regardless if their IP is restricted or not.
- Two Factor Authentication method: Select the authentication method to be used - OTP App, SMS, or email.
- Expiry time of QR Code Image Page: Expiry time for QRCode image if "OTP App" is selected in the method.
- OTP Issuer Name of the One Time Password.

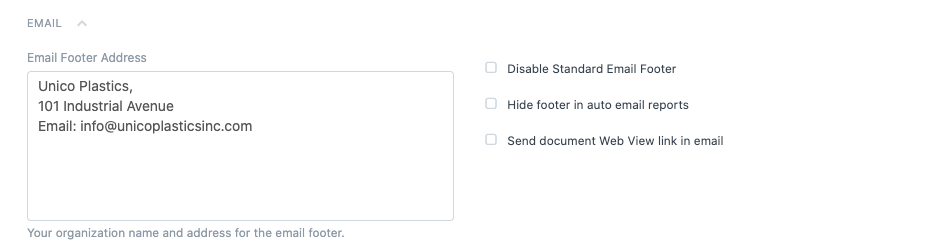
1.9 Email
- Email Footer Address: Organization name, address, and other details can be added here. This will be set as default in all outgoing mails.
- Disable Standard Email Footer: If ticked, the standard email footer will be disabled for outgoing emails.
- Hide footer in auto-email reports: If ticked, footers will be hidden in Auto Email reports.
- Send document web view link in the email: OneOfficeERP has a portal view available from where parties like Customers and Suppliers can sign up and view their order history. When you email a transaction to your party, you can also send a web link to view the same document on the portal of your OneOfficeERP account. This option will enable this functionality.