
Customize Print Format
Print Formats are the layouts that are generated when you want to Print or Email a transaction.
This customization requires technical knowledge, please don't hesitate to contact your support agent for help.
This feature comes handy for all the transactions in OneOfficeERP like all the sales and purchase transactions, HR documents and lot more.
In OneOfficeERP, there are three types of Print Formats, namely, Standard Print Format, Custom Print Format and HTML Print Format.
1. Standard Print Format
Every Printable Document Type in OneOfficeERP will have its own Standard Print Format. The field placement in the Standard Print Formats will be dependent on the position of the respective fields in the document.
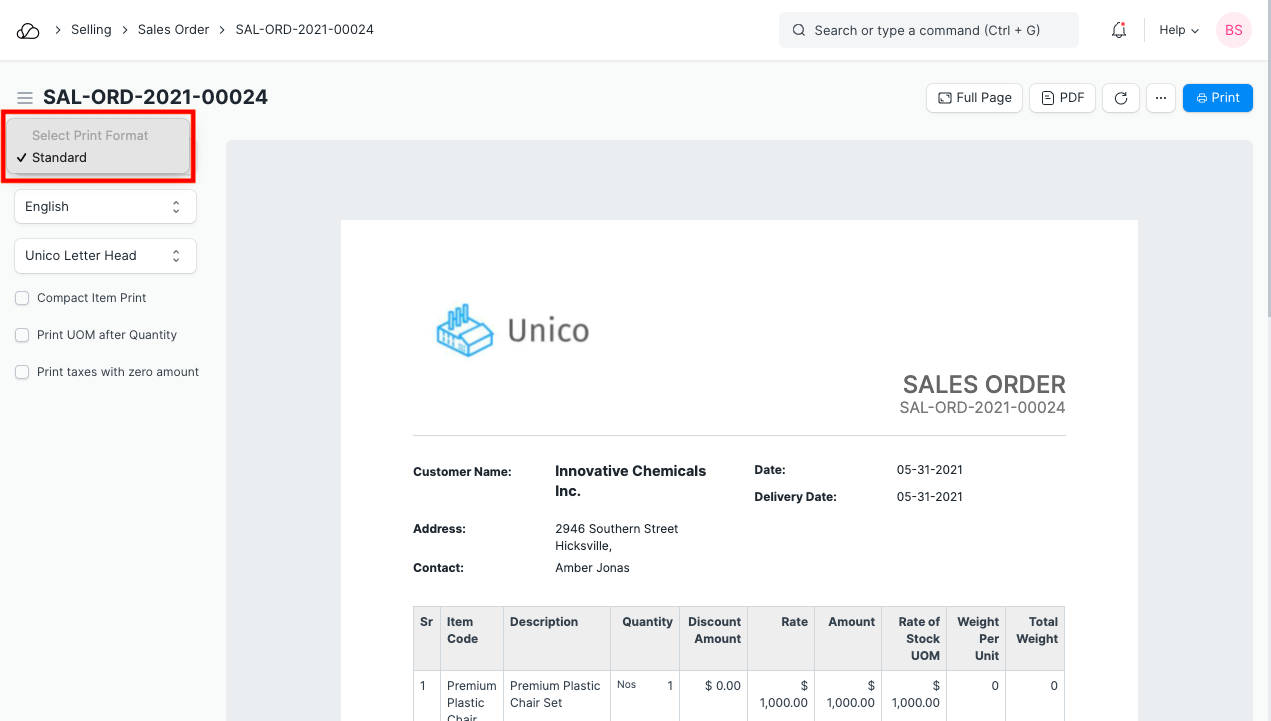
Any changes made to the Standard Print Format will have to be done using a Customize Form. You can also checkout adding fields in Print Formats.
2. Custom Print Format
You can also create your own custom Print Formats by using a tool called Print Format Builder. This tool will help you in making a simple Customized Print Format by dragging and dropping fields in a format as per your preference.
For creating Custom Print Formats, OneOfficeERP comes with several pre-defined templates in three styles, namely, Modern, Monochrome and Classic.
To create your versions, open an existing template from:
Build > Views > Print Format
3. Print Settings
To edit/update your print and PDF settings, go to:
Settings > Print Settings

4. HTML Print Format
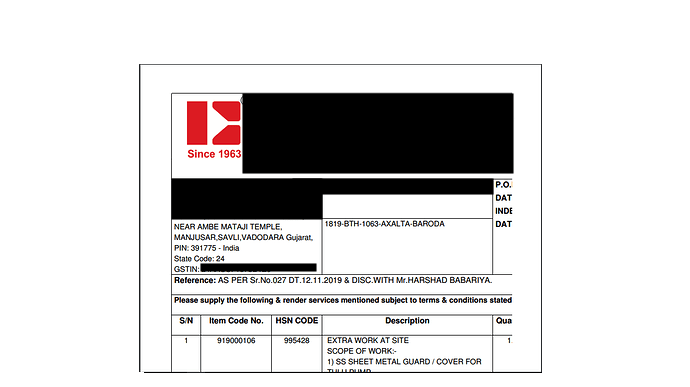
For creating an HTML Print Format, you would require some knowledge of HTML, CSS, and Python. Here is an example of how a Print Format can be design which has very specific format.
Print Formats are provided on the server-side using the Jinja Templating Language. All forms have access to the doc object which contains information about the document that is being formatted. You can also access common utilities via the frappe module.
For styling, the Bootstrap CSS Framework is provided and you can enjoy the full range of classes.
5. References
6. Example
{% raw %}
  <h3>{{ doc.select_print_heading or "Invoice" }}</h3>
  <div class="row">
      <div class="col-md-3 text-right">Customer Name</div>
      <div class="col-md-9">{{ doc.customer_name }}</div>
  </div>
  <div class="row">
      <div class="col-md-3 text-right">Date</div>
      <div class="col-md-9">{{ doc.get_formatted("invoice_date") }}</div>
  </div>

  {%- for row in doc.items -%}
    <table class="table table-bordered">
      <tbody>
        <tr>
            <th>Sr</th>
            <th>Item Name</th>
            <th>Description</th>
            <th class="text-right">Qty</th>
            <th class="text-right">Rate</th>
            <th class="text-right">Amount</th>
        </tr>
        <tr>
            <td style="width: 3%;">{{ row.idx }}</td>
            <td style="width: 20%;">
                {{ row.item_name }}
                {% if row.item_code != row.item_name -%}
                <br>Item Code: {{ row.item_code}}
                {%- endif %}
            </td>
            <td style="width: 37%;">
                <div style="border: 0px;">{{ row.description }}</div></td>
            <td style="width: 10%; text-align: right;">{{ row.qty }} {{ row.uom or row.stock_uom }}</td>
            <td style="width: 15%; text-align: right;">{{
                row.get_formatted("rate", doc) }}</td>
            <td style="width: 15%; text-align: right;">{{
                row.get_formatted("amount", doc) }}</td>
        </tr>
      </tbody>
    </table>
  {%- endfor -%}
{% endraw %}
7. Notes
- To get date and currency formatted values use,
doc.get_formatted("fieldname") - For translatable strings, use
{{ '{{ _("This string is translated") }}' }}