Setting Workflows on Masters
Workflows are usually set on submittable documents. Once the document is approved, it gets automatically submitted as per the workflow set. However, sometimes, businesses do have use cases where there is a need for approval of masters such as Items, Item Price, Pricing Rule, etc.
In OneOfficeERP, these masters are non-submittable. Hence, even on rejection, sometimes, they are still active and you can use them in transactions. In this article, we have taken the example of the Item master. We will set a simple workflow on Item and make it active only when it has been approved. To do so, follow the below steps:
Step 1
Make sure the master on which you are going to set the workflow has an Enable/Disable checkbox.
If this is not present by default, you need to create one via Customize Form and set the default value as follows:
- '0' if checkbox is "Disable"
- '1' if checkbox is "Enable"
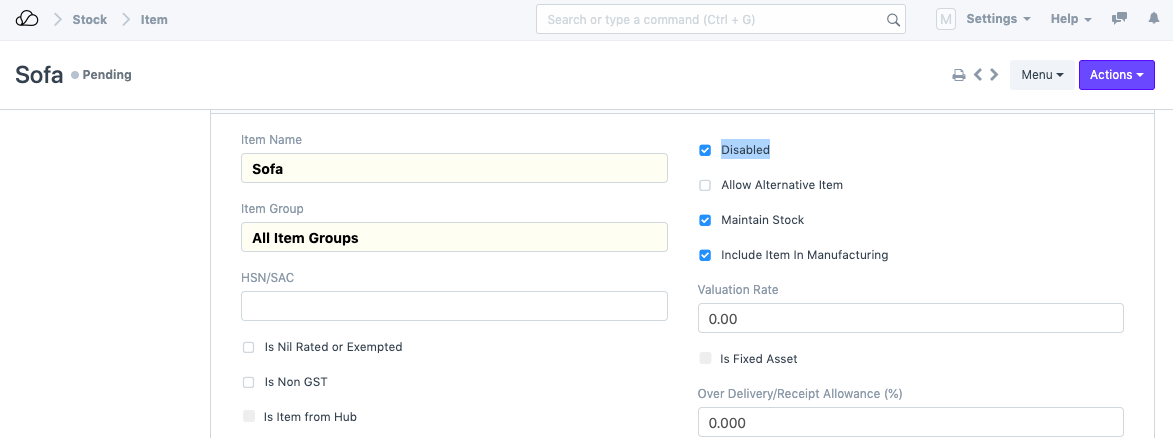
In our case, the Item master has a checkbox called "Disabled". We have set the default value as 1 in the Customize Form of the Item DocType as shown below.
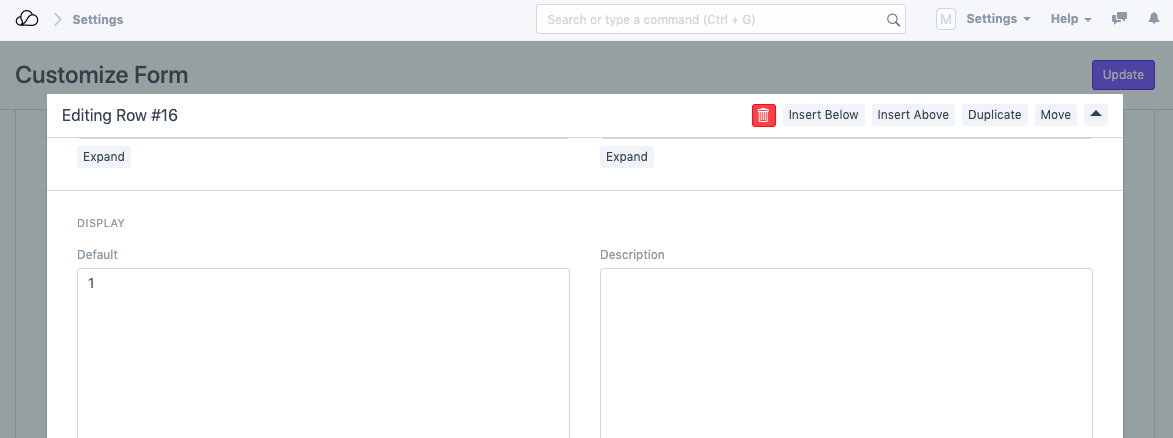
This means that every time a new Item is created, it will be disabled by default, unless approved (as seen in the screenshot below).
Step 2
Next, set the Workflow.
In the States table, on approval, make sure to update the "Disabled" (or Enabled) checkbox to 0 (or 1 in case of enabled) as shown below.
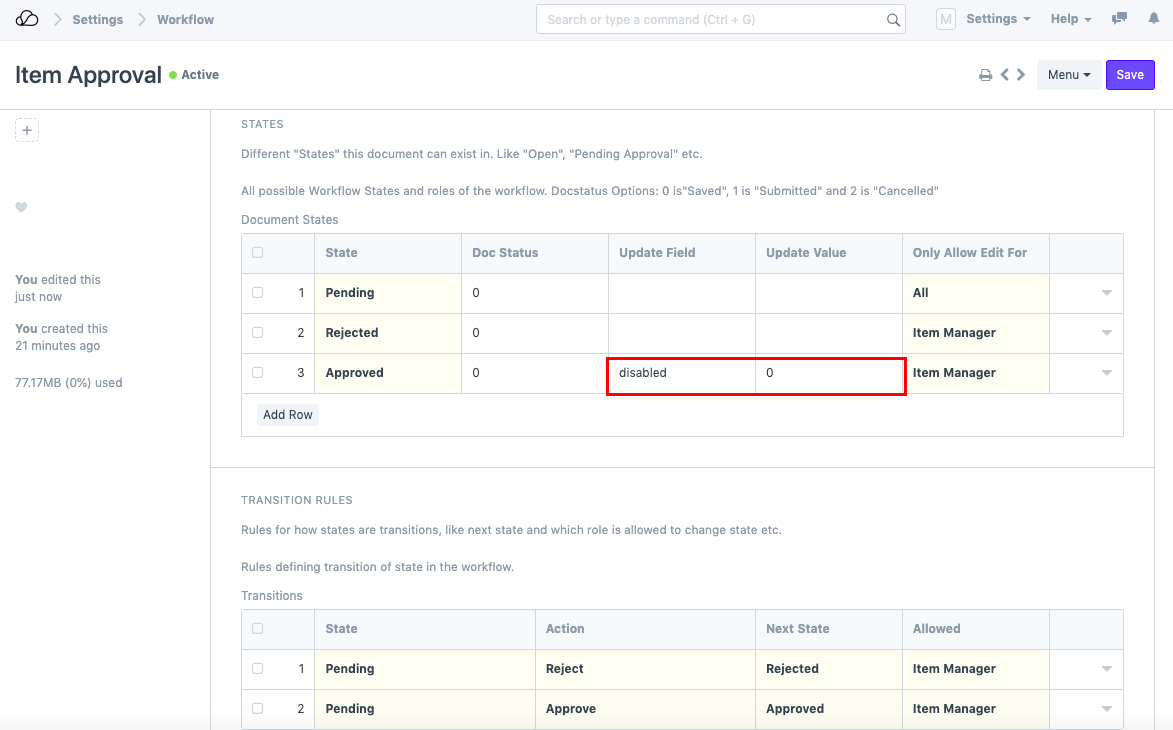
This will ensure that whenever the Item is approved, the Item will automatically be enabled and you will be able to use it in transactions.
Sample Workflow
Check the animation below to see the workflow in detail