Sample Collection
It's critical for a Laboratory to manage collected samples and print labels for those samples, automate sample collection, etc.
1. How to create a Sample Collection
To create a Sample Collection go to
Home > Healthcare> Laboratory > Sample Collection > New Sample Collection
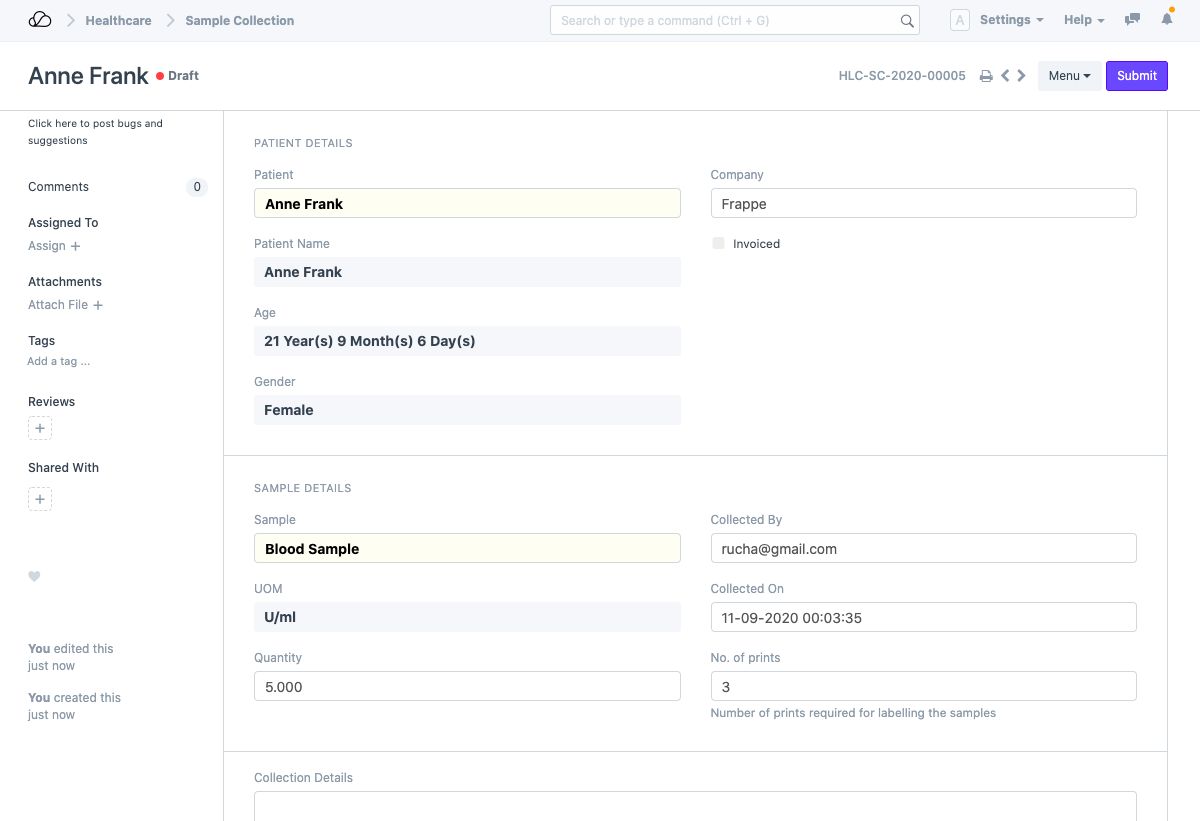
- Enter the name of the Patient. All the patient details will be auto-fetched.
- Select the Lab Test Sample in the Sample field. You can configure the Lab Test Sample master as per your requirements. The Sample UOM is automatically fetched from the Lab Test Sample doc.
- Set the Quantity of the sample collected.
- Select the user who collected the sample in the "Collected By" field.
- Set the Date and Time of sample collection in the "Collected On" field.
- Save and Submit.
2. Features
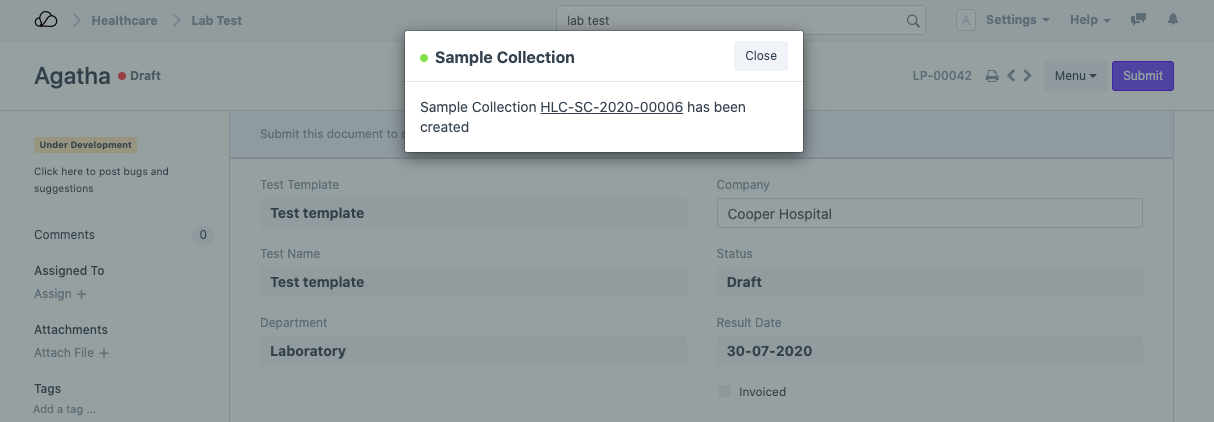
2.1 Sample Collection automation
You can also automate the creation of Sample Collection document for each Lab Test by enabling the 'Create Sample Collection document for Lab Test' option in Healthcare Settings and configure samples in the Lab Test Template.
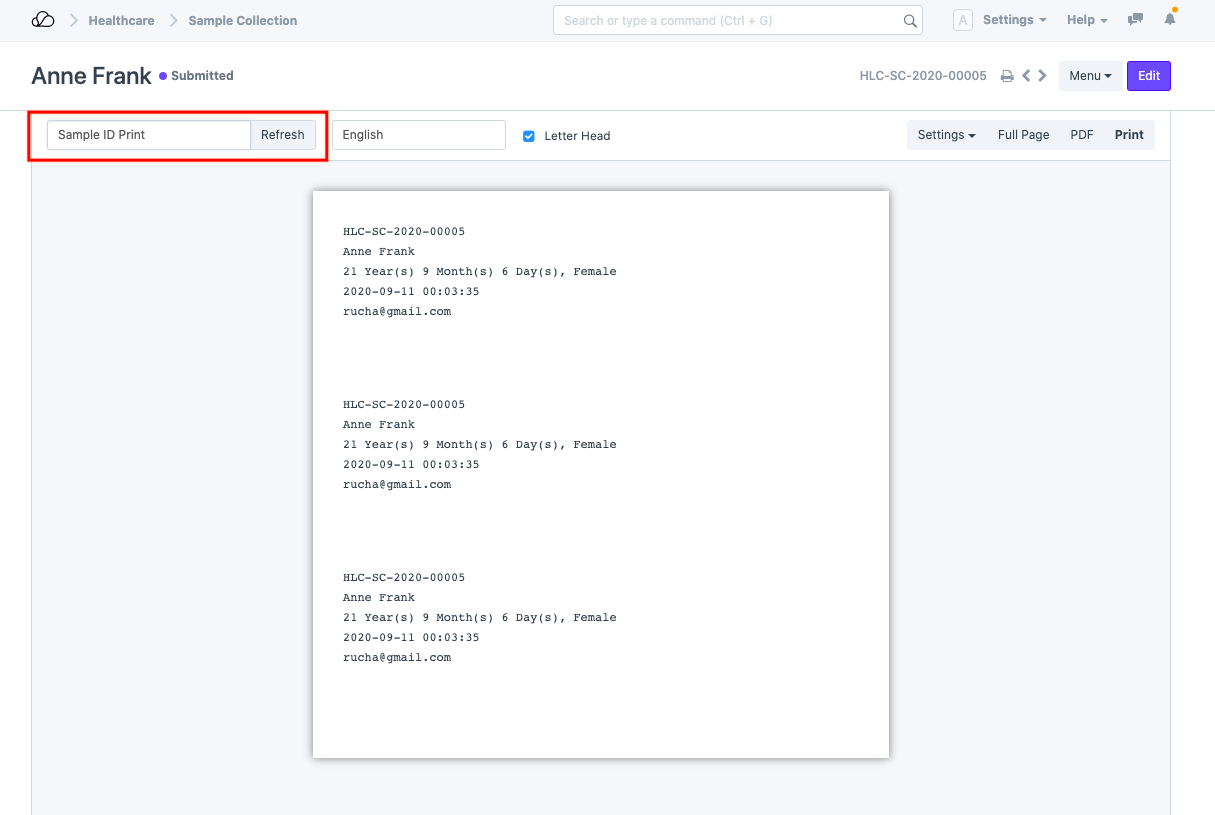
2.2 Sample labeling
Printing of sample identification tags is also possible in OneOfficeERP. By default a print format called "Sample ID Print" is made available, but you can always customize this directly using the Print Format Builder or even create a custom Print Format if required. The number of labels required has to be set in the "No. of prints" field in the Sample Collection document. Accordingly, those many labels will be generated in the print view.