Setting Up
Users & Permissions
Print
Email
System Configuration
Data Privacy
Articles
Using OOERP
Collaboration
Articles
Accounts
Setup
Journals & Payments
Tools
Advanced
Opening Balance
Shareholders
Articles
Asset
Buying
Basics
Setting Up
Articles
CRM
Reports
Setting Up
Human Resources
Setting Up
Employees
Attendance
Leaves
Employee Lifecycle
Payroll
Tax & Benefits
Performance
Travel & Expense Claim
Gratuity
Reports
Articles
E-Commerce
Loan Management
Loan Cycle
Articles
Projects
Project Management
Time Tracking
Advanced
Quality Management
Selling
Setting Up
Reports
Articles
Stock
Variants
Transactions
Serials & Batches
Returns
Reports
Articles
Support
Website
Agriculture
Diseases & Fertilizer
Analytics
Education
LMS
Setting Up
Schedule
Healthcare
Setting Up
Consultation
Nursing
Rehabilitation
Hospitality
Manufacturing
Bill Of Materials
Reports
Articles
Non Profit
Membership
Volunteers
Donors
Grants
Chapters
Customization
Records
Navigation
Articles
Integration
Banks
E-Commerce
Shipping
Payment
Taxes
Telephony
Regional
Germany
United Arab Emirates
South Africa
Saudi Arabia

Fee Schedule
Fee Schedule would help you in defining a time-line for the Fee payment of the students, based on the Student Group.
To access Fee Schedule, go to:
Home > Education > Fees > Fee Schedule
1. Prerequisites
2. How to create a new Fee Schedule
- Go to the Fee Schedule list and click on New.
- Select and add the Fee Structure. The moment you add the Fee Structure, the Fee Break Up for Each Student will be auto-populated.
- Select and add the Academic Year and the Academic Term.
- Add the Due Date for the fees.
- Select and add the Student Group.
- Save and Submit.
3. Features
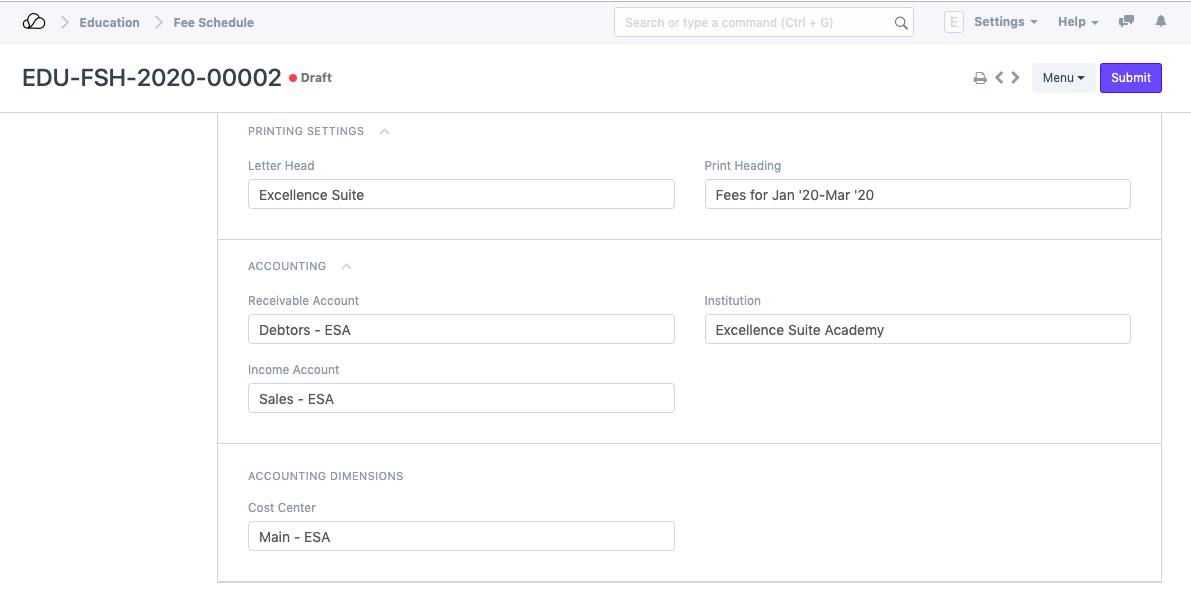
The Accounting features and Accounting Dimensions will be fetched as-is from the Fee structure.
3.1. Printing Settings
- Select and add the Letter Head to be used for printing the Fee Receipt.
- Select and add the Print Heading for the Fee Receipt.
3.2. Accounting
Working with OneOfficeERP allows you to update your account entries with extreme ease. Whenever a student submits their fees and it gets recorded in the system, your Accounts will get updated simultaneously.
To facilitate that smoothly, you can add your Accounts details in the fee structure.
- Receivable Account: Enter the name of the Receivable Account for your Institution.
- Income Account: Select and add the Income Account for your Institution.
- Company: Select and add the Company under which all the payments are made. If there are multiple institutions in your OneOfficeERP account, or if the Accounts are handled by a Sister Company.
3 .3. Accounting Dimensions
- Cost Center: Select and add the name of the Cost Center of your Institute for Accounting Dimensions.