Student Group
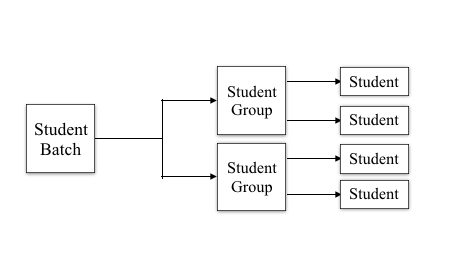
A student group is a collection of students from the same batch or taking the same course.
For example, if a group of students studying the same program together will be called a student batch, then from within this group, the cluster of students who have taken up the same elective course will be called a Student Group.

To access Student Group, go to:
Home > Education > Student > Student group
1. Prerequisites
Before creating a Student group, it is advisable that you first create the following:
2. Creating a Student Group
- Go to Student Group List and click on New.
- Group Based On: Select the basis on which you would like to create the student group. The three options available are:
- Batch: List of all the students from within a specific batch will be fetched in this case.
- Course: Lst of all the students who have enrolled for a specific course will be fetched in this case.
- Activity: You can select this option when you want to create a group of students for certain activities happening in the school.
- Student Group Name: Enter the name of the student group.
- Save.
2.1. Additional Options while creating a Student Group
Apart from the above mandatory options, the following fields should also be filled in the form to create a Student Group:
- Select the Academic Year and Academic Term for which the Student Group is being made.
- Program: Select the Program for which the Student Group is being made.
- Batch: Select the Batch based on which you would want to fetch the list of students for the student group.
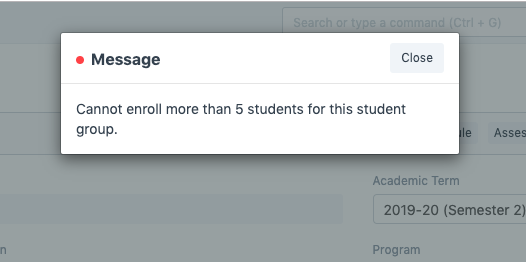
- Max Strength: Enter the Maximum number of students that can be a part of this Student Group. If the number of selected students in the group is more than the Max Strength, the system will not allow you to save this group and an error will be shown.
 5. Student Category: If you want the students of a specific category to be a part of this group, you can select that.
6. Course: This option only appears when then Group is Based on a Course. You can select a particular course here, and a list of only those students who have been enrolled in this course would be fetched to create this student group.
2.2. Features
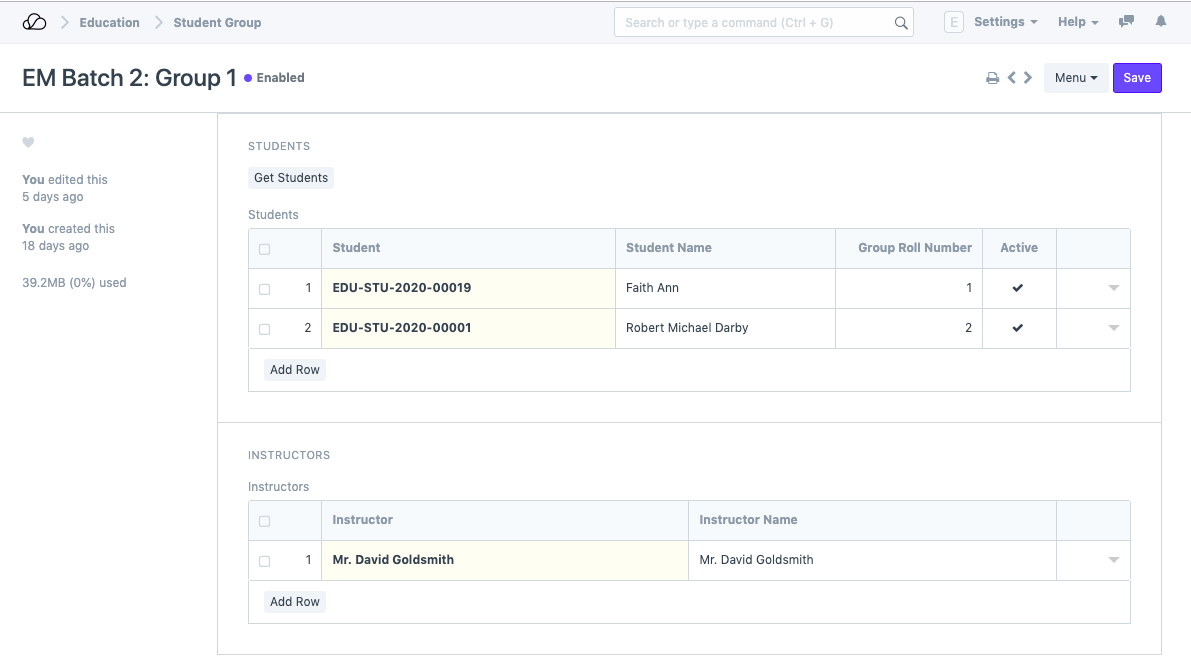
- Students: Enter the names of the students that you wish to add to this Student Group. The student list will be fetched according to the parameters selected above, like Academic Year, Academic Term, Batch, Program, Course, etc.
- Get Students: Based on the parameters selected above, the system will automatically fetch the list of students, and all the students who have the criteria matching with the Student Group, will be enlisted in the Students list once you click on 'Get students'.
Note: You have to select the students Manually for an Activity-Based group as this group may not have any defined criteria and any student can be selected to be added in this group. Get Students will not be functional in this condition.
- Instructors: Select the Instructors who will be teaching or mentoring this particular group of students.

3. After creating a Student Group
Once the student group has been created and saved, the following can be created from the Student group:
- Attendance: You will be redirected to Student Attendance Tool through which you can mark the attendance of all the students for a particular date.
- Course Schedule: You will be redirected to Course Schedule, wherein you will be able to see the schedule for this student group and further you can also create a New Course Schedule for the students in this group.
- Assessment Plan: You will be redirected to Assessment Plan list, where all the assessment plan for your student group will be listed and you will also be allowed to create a New Assessment Plan for the group.
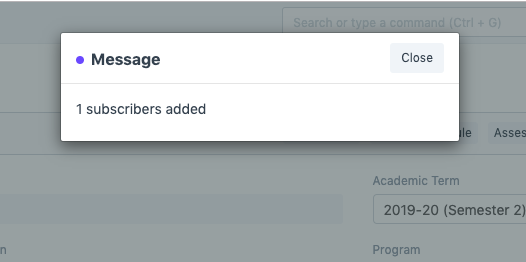
- Update Email Group: Once you select this option if the Email Ids of the Students in this group will be added to the Email Group and you will be able to send newsletters to all the subscribers in this Student Group.

- Newsletters: You will be able to send Newsletters to all the subscribers from within the student group with this option.
